You may want to disable UAC on Windows 10 or 11 if you get annoyed by the confirmation box popping up each time you try installing an app on your PC or make some changes to the files in the C:\ drive. However, before doing so, you must know that the User Account Control (UAC) box is for the protection of your computer and the data it has.
Nevertheless, in scenarios where you intend to execute a script to automate an administrative task, you may still want to turn off UAC on Windows 10. To do it temporarily, refer to the following sections that explain two methods to turn off User Account Control on Windows 10.
What Is User Account Control?
As briefly mentioned, User Account Control (or UAC) is a security barrier that protects your computer and its data from vulnerabilities.
Technical Information
User Account Control was introduced with the release of Windows Server 2008 and Windows Vista.
Pre-Windows Vista and Windows Server 2008 Era
Windows XP and earlier versions of the Microsoft operating systems issued a single access token to the administrator account. This token gave unrestricted access to any person logged in as an administrator, and that user was allowed to access all the recourses and data, including the sensitive operating system files (usually known as ‘System Files’), that the computer had.
As a result, if the PC administrator attempted to install or access a program with a malicious code or script that could harm the PC, the operating system used to allow it to run, thus installing/initializing the harmful elements along with it.
This wasn’t the case if a person logged in with a non-administrator account as OS issued a standard access token to it. This token had restricted access and could not install anything on the PC or modify System Files. This prevented malicious scripts or viruses from corrupting anything on the system drive (usually the C:\ drive).
Windows Vista and Above Era
With Windows Vista, i.e., post the release of UAC, while the operating system still issues a single, standard access token to all the non-administrator accounts, it assigns two tokens, namely unrestricted and restricted, to the admin.
With this arrangement, even when a user logs in with the administrator account, it uses the standard (restricted) access token by default to perform all the tasks. Furthermore, when installing an app or altering system files, the admin account still attempts to use the standard access token.
Now, because the standard token has limited privileges, Windows declines the request to install the app or modify the System Files. However, it tries to use the unrestricted access token and seeks permission from the user signed in using the administrator account. For this, the OS prompts the User Account Control confirmation box. As the user clicks ‘Yes,’ the unrestricted access token is used to continue with the installation or system file modifications.
On the other hand, if the user clicks ‘No’, Windows continues to use the standard access token with restricted access. As a result, the process of installation or system file modifications aborts.
Now consider a scenario where you are working normally on your computer, and all of a sudden, you get a UAC prompt seeking your permission. Because you didn’t initiate any action requiring administrator privileges, you instantaneously know that some malicious script or file is trying to access your system drive with bad intentions. When this happens, simply click ‘No’ to keep your PC and data safe.
After understanding the significance, if you still want to disable UAC in Windows 10 or Windows 11 for testing purposes or any other reason, the following methods will help you get the job done most conveniently.
How to Disable UAC on Windows 10 via Control Panel?
This method is pretty straightforward. The process to turn off UAC in Windows 10 or Windows 11 through Control Panel is explained below:
Step 1: Go to Control Panel
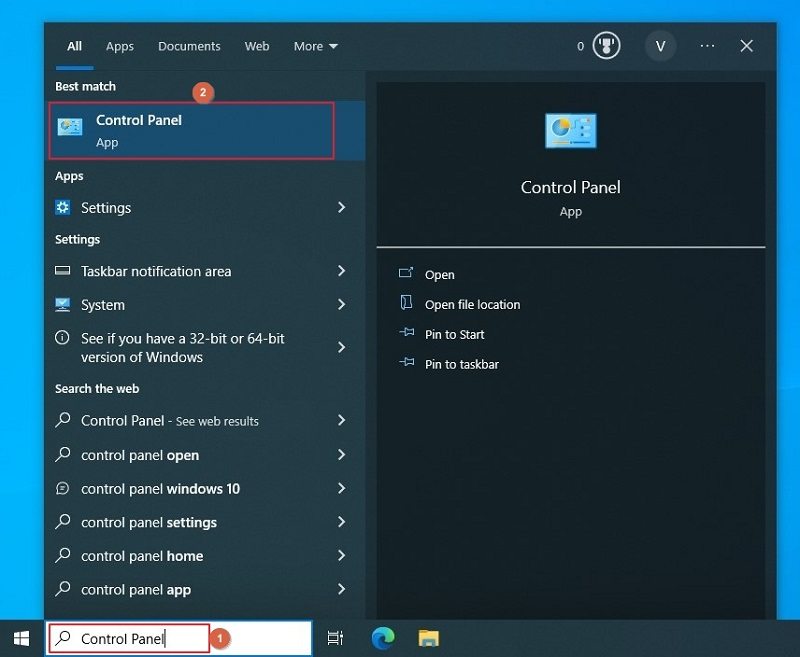
Click inside the Search bar in the Taskbar, type Control Panel in the input field, and click Control Panel from the results list to open the Control Panel window.
Step 2: Go to the User Account Control Settings Box
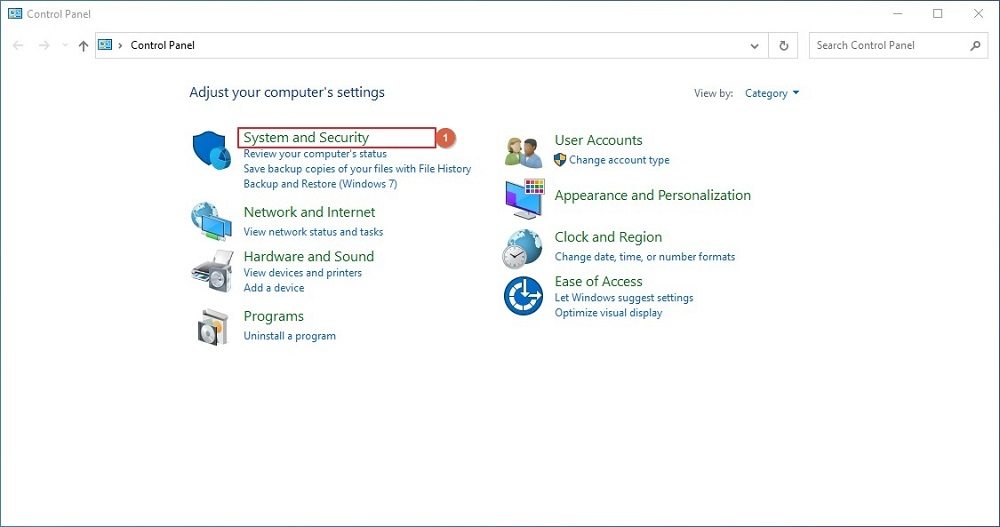
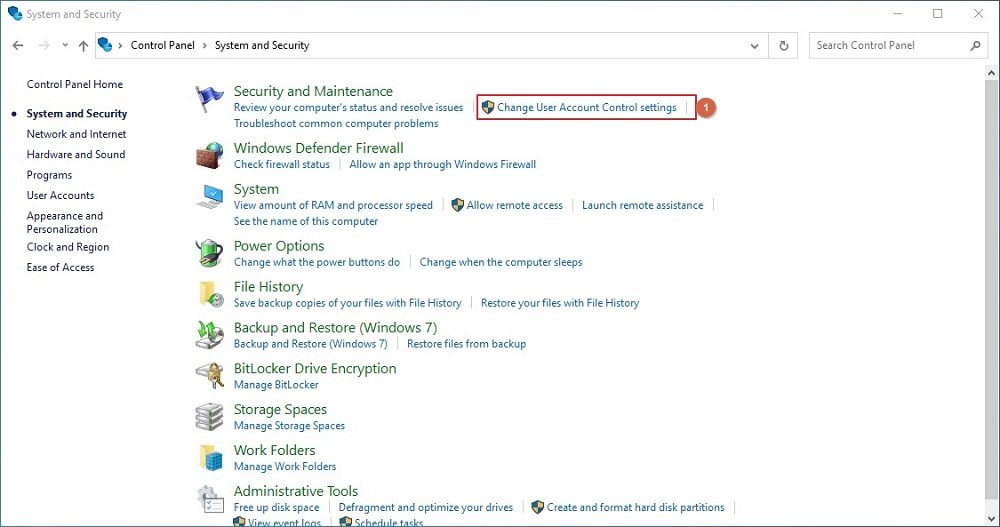
Click System and Security in the Control Panel window, and click Change User Account Control settings from the Security and Maintenance section to open the User Account Control Settings box.
Step 3: Disable User Account Control
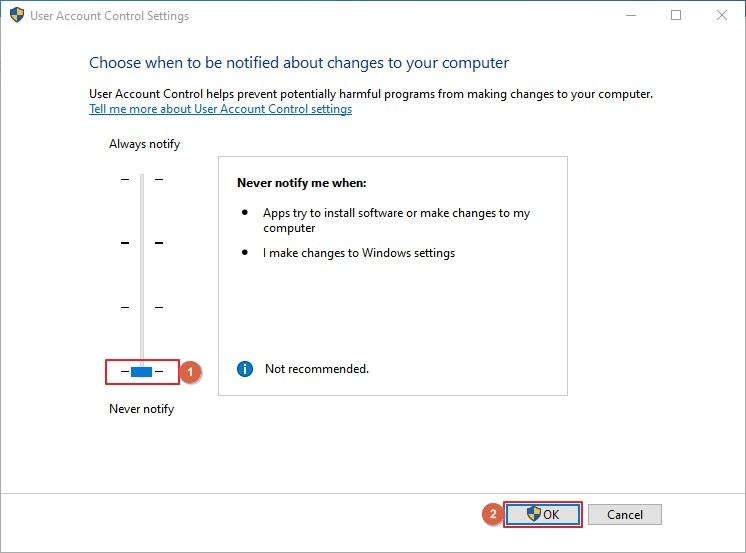
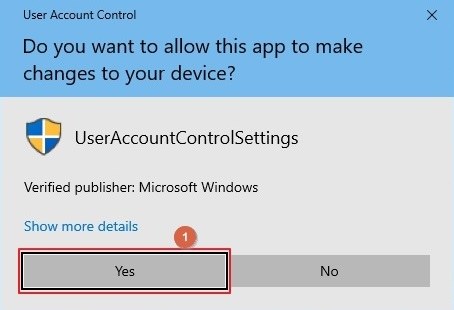
Drag the UAC slider to the Never notify marker, click OK, click Yes on the User Account Control confirmation box, and restart your PC to disable User Account Control on Windows 10.
How to Disable UAC on Windows 10 via Registry Editor?
If you are an advanced Windows user with technical expertise in Microsoft products, you may want to turn off UAC on Windows 10 via Registry Editor.
WARNING: Modifying the Windows registry incorrectly may cause your instance of the OS to stop responding and/or become permanently unstable. Therefore, you must NOT play with the registry settings if you are unsure what you are doing. If you want to continue, do so at your risk.
To turn off User Account Control on Windows 10 via Registry Editor, you must follow the instructions given below:
Step 1: Launch Registry Editor
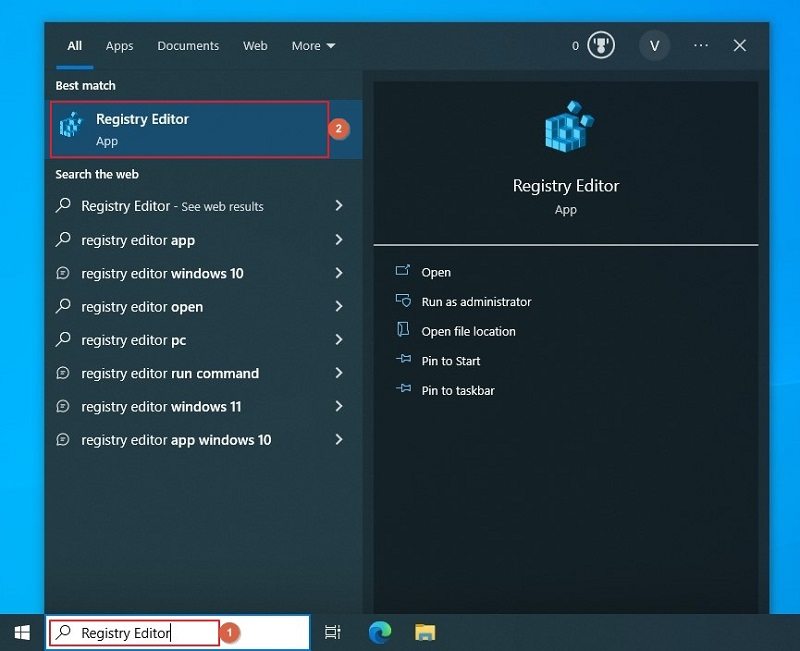
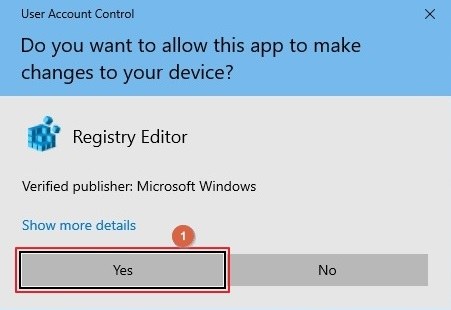
Click inside the Search bar, type Registry Editor in the input field, and click Registry Editor from the results list. Click Yes on the User Account Control confirmation box to open Registry Editor.
Step 2: Locate the System Container
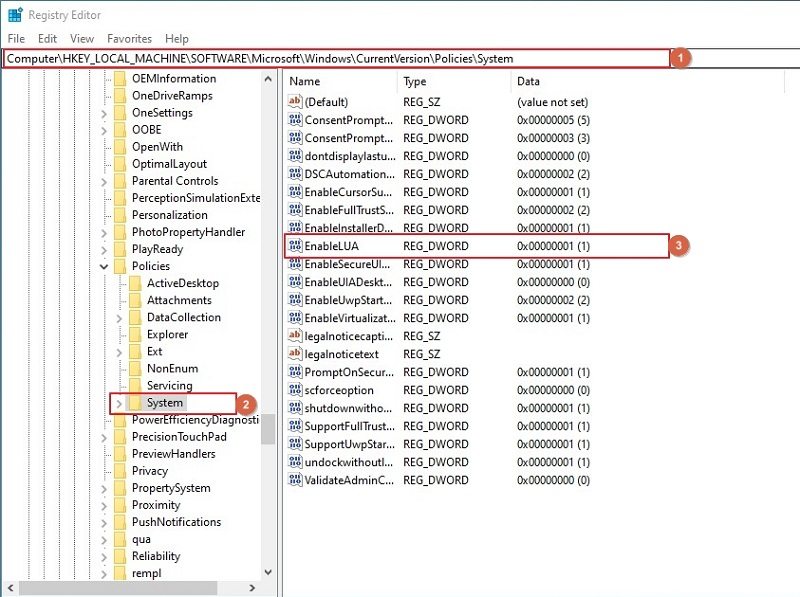
Expand and navigate the hives in the left pane to go to and select the \HKEY_LOCAL_MACHINE\SOFTWARE\Microsoft\Windows\CurrentVersion\Policies\System container.
Step 3: Disable UAC
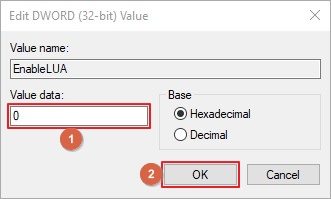
From the right pane of the System container, double-click the EnableLUA DWORD entry. Enter 0 (Zero) in the Value data field of the Edit DWORD (32-bit) Value box, and click OK.
Restart your PC to allow the changes to take effect.
Is It Safe to Turn Off UAC?
As explained earlier, UAC is to protect your computer and data. While you may need to disable User Account Control on Windows 10 or Windows 11 to perform some tasks that require unrestricted access to the operating system, Microsoft strongly recommends that you turn it back on as soon as any such process is complete to keep your PC safe from intruders, malicious scripts, and other cyber attacks.
FAQs About User Account Control
What is an access token?
In Windows, an access token is an object that contains all the information about the security and privileges of the account and works in the background. While the access token of a standard user account has limited privileges, the one that the OS assigns to an administrator has full control over the operating system and files that the computer has.
Why does my UAC box prompt for the administrator password?
This box is technically called ‘Prompt for Credentials’ as it asks for the password. This appears when you are logged in with a standard user account and trying to perform an administrative task. Because your access token has limited, restricted access and the OS needs administrator’s privileges, you must enter the password for the administrator account to proceed.
Additional Info: When you log in as an administrator, the User Account Control confirmation box that you see is technically called ‘Prompt for Consent’ as the OS merely seeks your consent to proceed without asking for the password.
Does UAC protect my computer from viruses?
No, it doesn’t. UAC is only responsible for asking for your consent to proceed to perform an administrative task. If you click ‘Yes’, Windows will continue without checking whether or not the file or script getting into the system drive could cause harm to your PC.
Conclusion
User Account Control is there to protect your data and PC from vulnerabilities. If you wish to turn off UAC in Windows 10 or Windows 11 to perform a task that needs unrestricted access, you can follow any of the methods explained above to get the job done. However, once you disable UAC on Windows 10 or Windows 11 and complete your administrator work, ensure that you turn it back on to secure your PC and files again.