Learning how to insert date in Word is a necessary skill that everyone has to learn, especially if their work revolves around Word documents. Microsoft Word presents a wide range of fruitful ways to insert date and time in Word. Plus, it also allows you to insert date in different formats, such as 01/01/2019, 01-01-2020, 15-May-2022, etc. Additionally, the date and time in Word documents can be static (as a plain text field) or dynamic (one that updates automatically).
Read on to learn all the ways of inserting date in Word. We have discussed how to insert date in Word using keyboard shortcuts, how to insert date manually, and explained everything related to date and time in Word.
Insert the Current Date and Time using Shortcut Keys in Word
Keyword shortcuts allow you to perform a task quickly and efficiently; not to forget, you do not have to interrupt the workflow if you know the shortcuts to insert the date in Word documents.
How to Insert the Current Date and Time using Shortcut Keys:
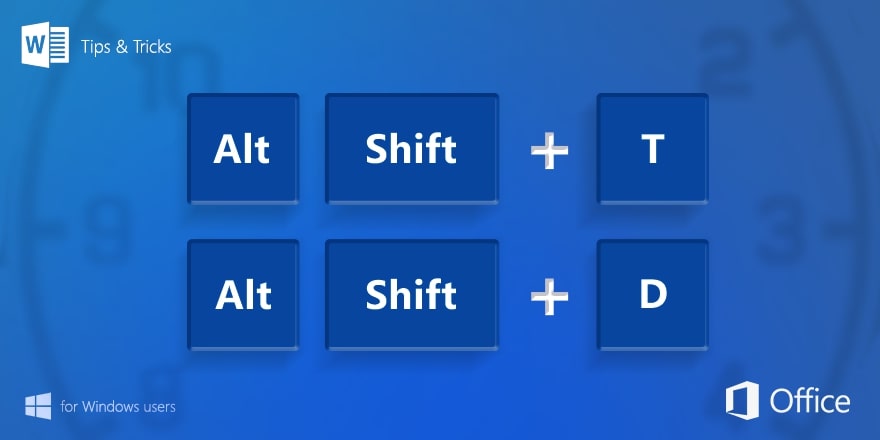
Word allows you to insert the current date or time stamp via a keyboard shortcut, and that is Alt+Shift+D.
To insert the current time in Word document, the keyboard shortcut is Alt+Shift+T.
Ensure to select the insertion point, i.e., where you want the date or time to appear in the Word document. Once you enter the keyboard shortcut, Word will insert the date or time. The date and time format will depend on the operating system’s regional settings.
Moreover, the date and time inserted via the keyboard shortcut in Word documents are dynamic in nature. So, if a user updates the Word document, it will change automatically.
Enter the Date and Time in Word via Keyboard Shortcut, and as Plain Text: (So, it does not update automatically).
- To avoid changes to the current date inserted via keyboard shortcuts in the Word document, select the Date appearing on the page.
- Choose Cut from the Clipboard group.
- Now, click on the Paste list from the clipboard, and choose the Keep Text Only option.
That’s how simple it is to insert the current date and time in Word via keyboard shortcuts. However, if you want more flexible options, like choosing the format of the date, you will have to insert the date in Word manually.
Furthermore, the manual method allows you to enter the date as a plain text field directly or variable that updates automatically to the current date and time. Follow along to learn how to manually insert the date and time in Word.
Insert the Current Date and Time using the Insert Tab
Another quick way to insert a date in Word is via the Insert tab. The Insert tab allows you to either insert date in Word as plain text or as a field that updates automatically.
Here are the steps to insert the date in Word as plain text via the Insert tab:
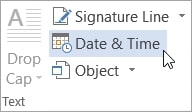
- On the Insert tab, go to the Text group.
- Choose the Date & Time option.
- You will see the Date and Time dialog box with different formats. Choose the desired format. And click OK.
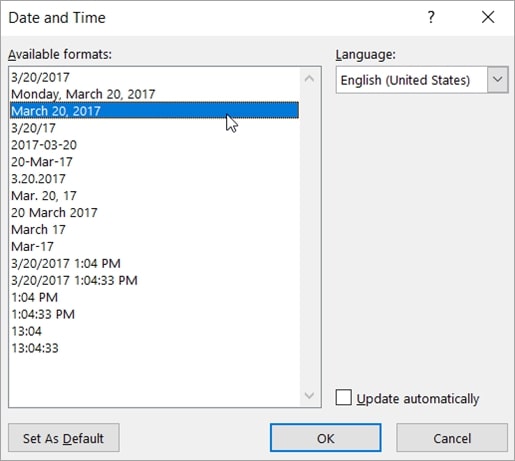
Once you click OK, the date and time will be added to the Word as plain text.
To update the Date and Time in Word automatically, check the box assigned to Update automatically. This is useful if you intend to use the Word document on a future date.

Insert the Current Date and Time using the Date, CreateDate, PrintDate, and SaveDate Fields
If you want to insert a date in Word in a template that updates to the current date or want to do other things with the date field, then you will have to use the “Field” option instead.
In the Field option, you can pick from different date formats or create your own date format. Plus, the options include:
- Date: In the Field option, Date means today’s date. This will not update automatically unless you update the field manually.
- CreateDate: The date the document was created. If you choose a date format, the date format will vary, corresponding to the regional settings defined for you in Control Panel or template selected by other users. However, the date will not change and will only show the date the document was created. Note: Dates in Word are tied to regional settings for the user’s operating system. Thus, this option prints different dates for different users.
- PrintDate: The option shows the date the document was last printed.
- EditTime: The total document editing time.
- SaveDate: The date the document was last saved.
Here’s How to Insert the Current Date and Time using the Date, CreateDate, PrintDate, and SaveDate Fields:
- Place the mouse cursor where you want to insert the date in Word.
- Select the Insert tab and navigate to the Text group from the ribbon.
- Choose Quick Parts. And then click Field.
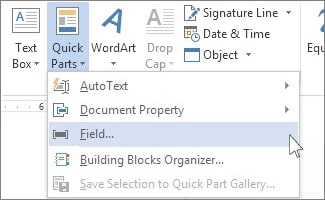
- In the Field pop-up menu, navigate to the Categories box.
- Choose the Date and Time from the list of options.
- In the Field name box, choose the Date, SaveDate, PrintDate, or CreateDate option.
- After making the desired selection, choose the date template from the Date Format box.
- Click OK to save the changes.
There you go. That’s how to insert the date in the Word document as a variable field.
Insert the Current Date and Time in Word Document Footer
Footer in Word documents is in the margin area at the bottom of the page. The information entered repeats on every page, which helps in keeping long documents organized and easier to navigate. When you insert the date and time in the Word document’s Header or Footer, it will reflect on every page.
How to Insert the Current Date and Time in Word Document Footer:
- Open the Word document and select Insert from the ribbon.
- Choose Header and Footer. And position the insertion point (Left, Center, or Right sections). The date and time in Word will appear in the Footer, depending on your selection.
- After selecting the insertion point, select Insert Date from the Header & Footer ribbon.
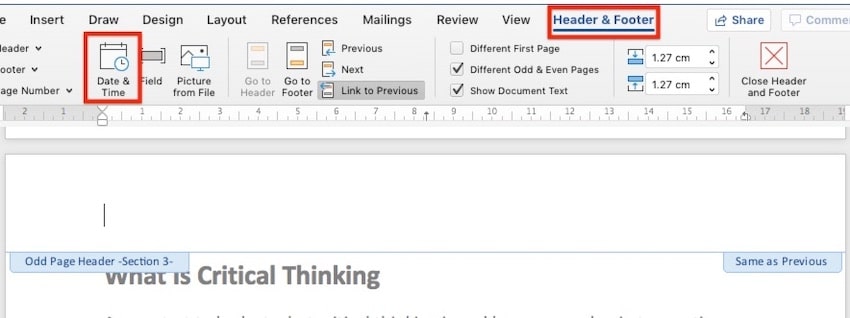
Once you select Insert Date, Word will insert the date.
Frequently Asked Questions About the Current Date and Time in Word
1. How to Insert Date in Word Document Header?
- Choose Header and Footer from the Insert ribbon.
- Position the insertion point.
- Choose Insert Date from the Header & Footer toolbar.
- Word will insert the date in the document’s Header, which will repeat on every page.
2. How to Change the Format of the Inserted Date in Word?
When you insert the date in Word manually, you can select the format of the date.
However, if you want to change the format of the date that appears via keyboard shortcuts, you will have to change the regional settings. To do that:
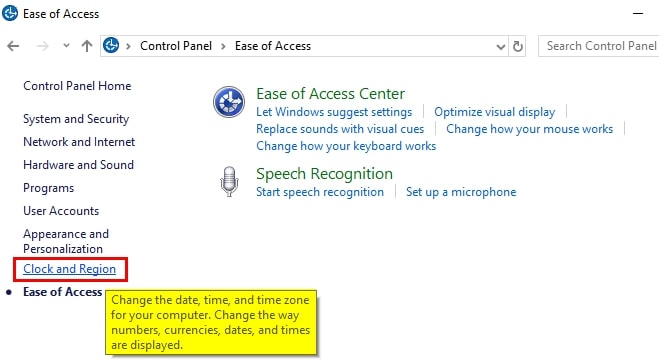
- Go to Control Panel.
- Select Ease of Access (the options are alphabetically arranged).
- Choose Clock and Region.
- A new pop-up will appear, choose Additional Settings (under the Format menu).
- Choose the desired format of the date and time.

From now, when you use a keyboard shortcut to insert date in Word, the date and time fields will be inserted according to the selected date and time format.
Conclusion
Now that you have learned how to insert date in Word, you can showcase date and time fields in all the Word documents you create. We have also shown you all the ways of entering date in Word. You can insert the date in Word via the keyboard shortcut if you are in a hurry, or do it manually if you want to insert the date in Word in a specific format.
Furthermore, when you manually insert the date in Word, you can also choose to insert it dynamically, i.e., it updates automatically to the current date and time. The SaveDate, CreateDate, and PrintDate can be significant, too, if your organization requires you to share information like when the document was created, when it printed, and so on.